The Minolta X-700 manual is a comprehensive guide to mastering this iconic SLR camera. It details Programmed AE‚ aperture priority‚ and shutter priority modes‚ ensuring optimal photography. This essential resource helps photographers of all levels unlock the camera’s full potential‚ from basics to advanced functions.
1.1 Overview of the Minolta X-700 Camera
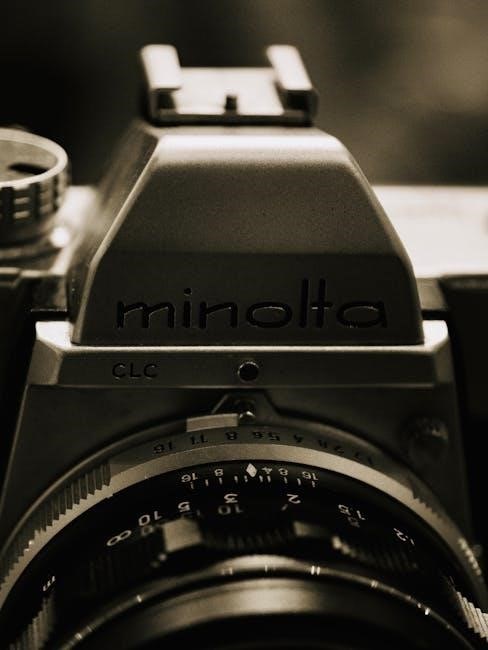
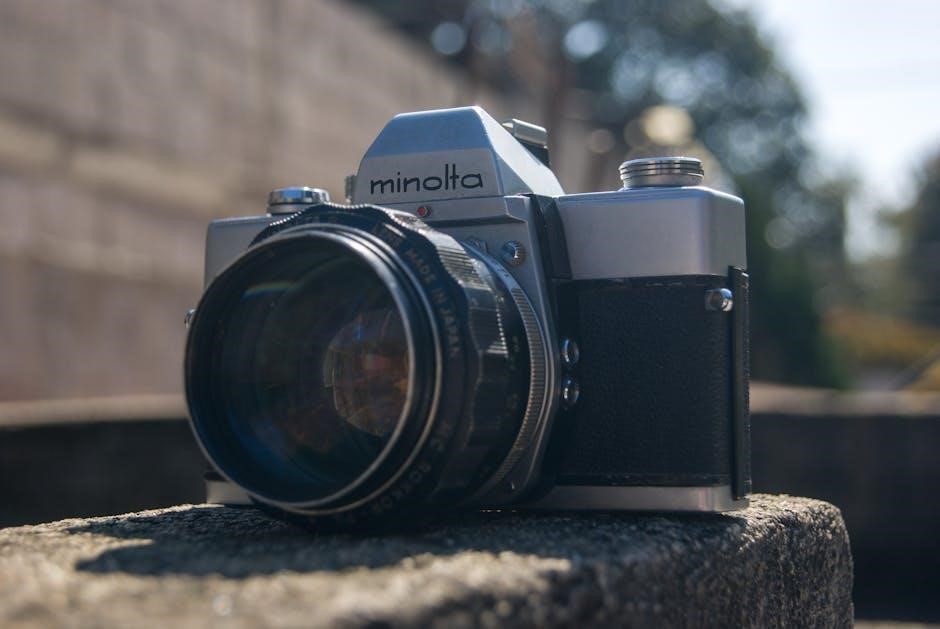
The Minolta X-700 is a highly regarded 35mm SLR camera known for its user-friendly design and advanced features. Part of the Minolta Program System‚ it offers Programmed AE‚ aperture priority‚ and manual modes‚ catering to both beginners and professionals. The camera features a built-in flash‚ self-timer‚ and compatibility with a wide range of lenses and accessories. Its intuitive controls and robust construction make it a versatile tool for various photography needs‚ ensuring precise control and creative freedom.
1.2 Importance of the Manual for Optimal Camera Usage
The manual is crucial for unlocking the full potential of the Minolta X-700. It provides detailed explanations of features like Programmed AE‚ aperture priority‚ and manual modes‚ ensuring users understand how to utilize each function effectively. The manual also covers maintenance tips‚ troubleshooting‚ and accessory compatibility‚ helping photographers maintain and optimize their camera. By following the guide‚ users can enhance their photography skills and extend the camera’s lifespan‚ making it an indispensable resource for achieving professional-quality results consistently.
Key Features of the Minolta X-700
The Minolta X-700 offers Programmed AE‚ aperture priority‚ shutter priority‚ and manual modes‚ along with advanced features like touch-switch metering‚ built-in flash‚ AE lock‚ and self-timer functionality.
2.1 Programmed Auto-Exposure (AE) Control
The Minolta X-700’s Programmed AE mode simplifies photography by automatically setting both aperture and shutter speed for optimal exposures. This feature is ideal for beginners and experienced photographers alike‚ offering ease of use while maintaining high-quality results. The camera continuously adjusts settings based on lighting conditions‚ ensuring versatility in various environments. The viewfinder displays LED indicators‚ providing real-time feedback on selected settings. This mode is a cornerstone of the X-700’s functionality‚ making it a reliable choice for capturing sharp‚ well-exposed images effortlessly.
2.2 Aperture Priority Mode
The Minolta X-700’s Aperture Priority Mode allows photographers to manually set the aperture‚ while the camera automatically adjusts the shutter speed for proper exposure. This mode is ideal for controlling depth of field‚ enabling creative decisions about subject focus and background blur. The manual aperture ring provides precise control‚ and the viewfinder’s LED indicators display the selected aperture and corresponding shutter speed. This feature is particularly useful for portrait and landscape photography‚ offering a balance between creative control and automated convenience for achieving professional-quality results.
2.3 Shutter Priority Mode
The Minolta X-700’s Shutter Priority Mode enables photographers to set a desired shutter speed manually‚ while the camera automatically adjusts the aperture for optimal exposure. This mode is ideal for capturing motion effects‚ such as freezing fast-moving subjects or creating artistic blur. By controlling shutter speed‚ users can achieve precise results in various lighting conditions. The viewfinder’s LED indicators display the selected shutter speed and corresponding aperture‚ ensuring accurate adjustments. This feature is particularly useful for sports‚ wildlife‚ and low-light photography‚ offering a balance between creative control and automated functionality for dynamic image capture.
2.4 Manual Mode for Full Creative Control
The Minolta X-700’s Manual Mode offers full creative control‚ allowing photographers to set both aperture and shutter speed independently. This mode is ideal for experienced users who want precise control over exposure. The camera’s metering system provides accurate guidance‚ with LED indicators in the viewfinder showing recommended settings. Manual Mode is perfect for achieving specific artistic effects‚ such as intentional overexposure or underexposure. It also enables the use of the AE Lock function for custom exposure adjustments‚ giving photographers unparalleled flexibility in capturing their vision. This mode is a cornerstone of the X-700’s versatility and creative potential.
How to Use the Minolta X-700
Mastering the Minolta X-700 involves understanding its intuitive controls and features. Start with initial setup‚ loading film‚ and basic handling. Use the viewfinder for accurate framing and focus. Familiarize yourself with metering modes and adjust settings as needed. Regularly refer to the manual for optimal performance and troubleshooting. Proper care ensures longevity and reliable operation‚ making the X-700 a trusted companion for photographers.
3.1 Initial Setup and Camera Preparation
Before using your Minolta X-700‚ carefully unpack and inspect the camera. Ensure all accessories‚ such as lenses and straps‚ are included. Attach the lens securely using the Minolta SR mount system. Adjust the diopter to suit your eyesight for clear viewfinder visibility. Familiarize yourself with the camera’s controls‚ including the mode dial‚ aperture ring‚ and shutter speed dial. Insert batteries correctly and test the metering system by pressing the touch-switch. Refer to the manual for specific instructions to ensure proper setup and functionality. Proper preparation ensures a smooth shooting experience and prevents damage.
3.2 Loading Film and Basic Camera Handling
Load film in a darkened environment or using a film changing bag to prevent exposure. Open the camera back by sliding the release latch. Attach the film leader to the take-up spool‚ ensuring proper alignment. Advance the film using the rapid rewind lever until it reaches the first frame marker. Close the back and press the touch-switch to activate the meter. Check the film counter to confirm loading. Handle the camera gently‚ avoiding direct sunlight on the lens to prevent damage. Always rewind film completely before removing it to avoid exposure.
3.3 Understanding the Viewfinder and LED Indicators
The viewfinder displays essential shooting information‚ including shutter speed‚ aperture‚ and exposure modes. LED indicators show programmed AE settings‚ metered manual mode‚ and AE lock status. The touch-switch metering system activates the LEDs for 15 seconds after pressing the shutter button. In Programmed AE‚ both aperture and shutter speed are displayed. In manual mode‚ the LEDs indicate over or under exposure. Use the viewfinder to monitor settings and ensure proper exposure. The LEDs provide real-time feedback‚ helping you adjust settings for optimal results. This feature enhances precision and control during photography.
Exposure Modes and Metering
The Minolta X-700 offers multiple exposure modes‚ including Programmed AE‚ Aperture Priority‚ Shutter Priority‚ and Manual Mode. The Touch-Switch Metering System provides precise control over exposure settings.
4.1 Programmed AE Mode Operation
The Programmed AE mode on the Minolta X-700 automatically sets both aperture and shutter speed for optimal exposure. This mode is ideal for beginners and professionals alike‚ offering simplicity while maintaining high image quality. The camera continuously adjusts settings based on lighting conditions‚ displayed via the viewfinder’s LED indicators. Users can also engage the AE Lock feature to hold specific meter readings‚ allowing for creative control over exposure. The Touch-Switch Metering System further enhances precision‚ ensuring accurate results in various lighting scenarios.
4.2 Metered Manual Mode for Precision Control
The Metered Manual Mode on the Minolta X-700 offers full creative control by allowing users to manually set both aperture and shutter speed. The camera’s built-in meter provides precise exposure readings‚ displayed via the viewfinder’s LED indicators. This mode is ideal for experienced photographers who prefer fine-tuning their settings. The X-700 also features a 2EV exposure adjustment range with LED indicators‚ enabling subtle adjustments for perfect results. This mode ensures ultimate precision and customization for achieving desired photographic effects.
4.3 AE Lock Function for Custom Exposure Adjustments
The AE Lock function on the Minolta X-700 allows photographers to capture custom exposure readings for specific parts of the frame. By pressing the AE Lock button‚ the camera locks the metered exposure‚ enabling precise control over lighting conditions. This feature is particularly useful for backlit or high-contrast scenes where manual adjustments are necessary. The locked exposure can then be combined with manual mode for further fine-tuning. The X-700 also offers a 2EV exposure adjustment range‚ indicated by LED markers‚ ensuring accurate and customizable results for every shot.
Advanced Features of the Minolta X-700
The Minolta X-700 features advanced capabilities such as Touch-Switch Metering‚ Built-In Flash‚ and Self-Timer. These enhancements provide improved functionality and precision for photographers seeking control and versatility.
5.1 Touch-Switch Metering System
The Minolta X-700’s Touch-Switch Metering System offers advanced exposure control. By touching the operating button‚ the system activates‚ keeping the viewfinder LEDs illuminated for 15 seconds. This feature ensures precise metering in various lighting conditions‚ allowing for accurate aperture and shutter speed adjustments. The system is part of the camera’s metering capabilities‚ providing photographers with enhanced control over exposure settings. Its intuitive design makes it easier to achieve desired results‚ especially in challenging lighting environments‚ while maintaining the camera’s overall functionality and user-friendly operation.
5.2 Built-In Flash and External Flash Compatibility
The Minolta X-700 features a built-in flash for convenient illumination in low-light conditions. With a guide number of 12 (at ISO 100)‚ it provides sufficient coverage for everyday photography. Additionally‚ the camera supports external flash units‚ such as the Auto Electroflash 280PX‚ offering more power and flexibility. The built-in flash simplifies operation‚ while external options enhance creative control‚ allowing photographers to achieve better lighting results in various scenarios. This compatibility ensures versatility for both casual and professional use‚ making the X-700 adaptable to diverse shooting environments and lighting needs.
5.3 Self-Timer Function for Delayed Shutter Release
The Minolta X-700’s self-timer function provides a 10-second delay between shutter release and exposure‚ minimizing camera shake and allowing photographers to be included in group shots. Activated via a dedicated button‚ the self-timer emits an audible beep and flashes an LED indicator to signal the countdown. This feature is ideal for avoiding blur caused by manual shutter pressing‚ ensuring sharp images even in low-light conditions. The self-timer enhances versatility‚ making it a valuable tool for photographers seeking precision and convenience in their work.

Maintenance and Care of the Minolta X-700
Regular cleaning of the camera and lens ensures optimal performance. Store the X-700 in a cool‚ dry place to prevent damage. Handle with care to maintain precision.
6.1 Cleaning the Camera and Lens
Regular cleaning is essential to maintain the Minolta X-700’s performance. Use a soft‚ dry cloth to wipe the camera body and lens. For the lens‚ employ a microfiber cloth or optical cleaning tissue to prevent scratches; Avoid harsh chemicals or abrasive materials. Gently remove dust or smudges to ensure clear optics and sharp images. Clean the viewfinder and mirrors with care‚ as they are sensitive components. Proper maintenance extends the camera’s lifespan and ensures optimal functionality for years of reliable use.
6.2 Storing the Camera Properly
Store the Minolta X-700 in a cool‚ dry place away from direct sunlight and moisture. Use the original case or a protective bag to prevent scratches and dust accumulation. Avoid extreme temperatures or humid environments‚ as they may damage internal components. Remove the battery when storing for extended periods to prevent corrosion. Keep the lens capped to protect it from dust and fingerprints. Proper storage ensures the camera remains in excellent condition‚ ready for use whenever needed. Always refer to the manual for specific storage recommendations to maintain its longevity.
6.3 Troubleshooting Common Issues
Common issues with the Minolta X-700 include metering inaccuracies‚ battery drain‚ or lens errors. Check the battery life and ensure proper installation. Clean the lens contacts and viewfinder for accurate metering; If the shutter fails to fire‚ inspect for obstructions or mechanical malfunctions. For persistent issues‚ consult the manual or seek professional repair. Regular maintenance and proper handling can prevent many problems‚ ensuring the camera functions optimally for years. Always refer to the troubleshooting guide in the manual for specific solutions to common challenges.
Accessories for the Minolta X-700
The Minolta X-700 supports a variety of accessories‚ including compatible lenses‚ flash units‚ and tripods‚ to enhance functionality and creativity. These tools expand the camera’s capabilities‚ ensuring versatility for photographers.
7.1 Compatible Lenses and Mounts
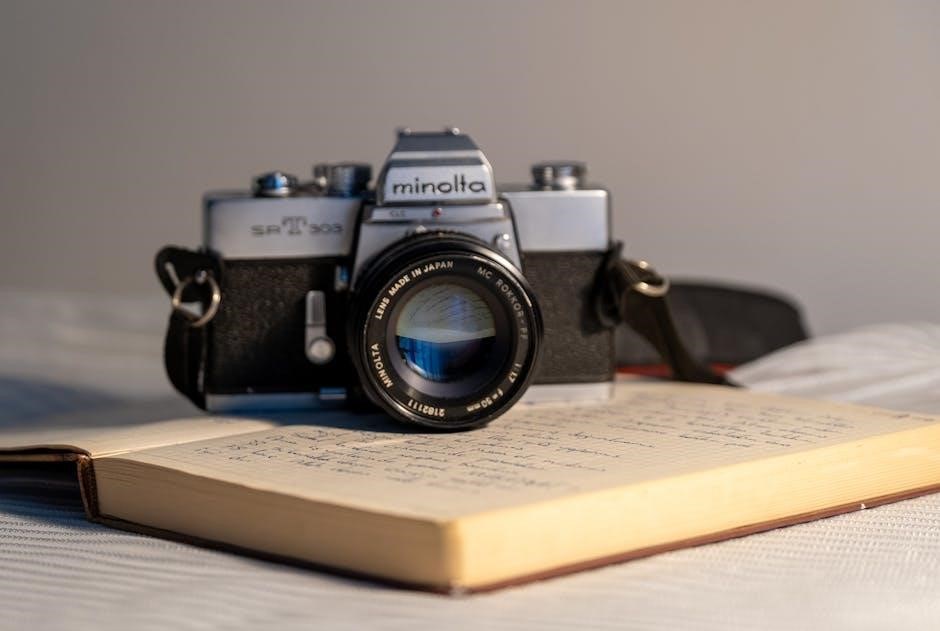
The Minolta X-700 uses the Minolta SR bayonet mount‚ ensuring compatibility with a wide range of lenses. Popular options include the MD series‚ offering exceptional optical quality. Zoom lenses like the MD Zoom 35-70mm and MD Zoom 70-210mm provide versatility for various photography needs. The camera also supports third-party lenses‚ making it a flexible choice for photographers. This compatibility allows users to experiment with different focal lengths and specialized optics‚ enhancing their creative possibilities and ensuring optimal performance across diverse shooting scenarios.
7.2 Flash Units and Lighting Accessories
The Minolta X-700 supports a range of flash units‚ including the built-in flash for convenience and external flash units like the Auto Electroflash 280PX for advanced lighting control. These accessories enhance low-light photography‚ offering precise illumination. The camera also works with Minolta’s dedicated flash systems‚ ensuring compatibility and optimal performance. Additional lighting accessories‚ such as diffusers and reflectors‚ can further refine your lighting setup‚ providing greater creative control and professional-grade results in various shooting conditions.
7.3 Tripods and Other Support Equipment
Tripods are essential for stabilizing the Minolta X-700‚ especially in low-light conditions or for precise compositions. The camera supports standard tripod mounts‚ ensuring compatibility with a variety of tripods and heads. Additional support equipment‚ such as monopods and quick-release plates‚ offers flexibility for photographers. These accessories enhance stability‚ allowing for sharper images and smoother camera movements. They are particularly useful for long exposures‚ macro photography‚ or when using heavy lenses‚ ensuring professional-grade results and ease of use in diverse shooting scenarios.
The Minolta Program System
The Minolta Program System seamlessly integrates the X-700 with compatible accessories‚ enhancing functionality and creativity. It streamlines camera operation‚ offering advanced features and compatibility with flashes‚ lenses‚ and more‚ ensuring versatile photography solutions.
8.1 Overview of the Minolta Program System
The Minolta Program System is an integrated photography ecosystem centered around the X-700. It combines advanced camera features with compatible accessories like lenses‚ flashes‚ and tripods‚ designed for seamless functionality. This system enhances creativity and efficiency‚ offering photographers a versatile toolkit. Key components include the Programmed AE mode‚ metered manual control‚ and accessories like the Auto Electroflash 280PX. The system ensures compatibility and optimal performance across all Minolta products‚ making it a robust solution for photographers seeking professional results. It emphasizes ease of use and adaptability‚ catering to both enthusiasts and professionals. The Program System underscores Minolta’s commitment to innovation and user-centric design‚ providing a comprehensive platform for diverse photographic needs. By integrating hardware and software‚ it streamlines workflows‚ allowing photographers to focus on capturing exceptional images. This modular approach ensures that users can expand their capabilities as they grow‚ making the Minolta Program System a cornerstone of the X-700 experience. It represents a holistic approach to photography‚ where every component works in harmony to deliver outstanding results.
8.2 Compatibility with Other Minolta Accessories
The Minolta X-700 seamlessly integrates with a wide range of Minolta accessories‚ enhancing its versatility. Compatible lenses‚ including the MD mount series‚ ensure optical excellence and adaptability. The camera also works with external flashes like the Auto Electroflash 280PX‚ providing advanced lighting control. Additionally‚ tripods and other support equipment are fully compatible‚ offering stability and precision. This compatibility allows photographers to expand their creative possibilities‚ leveraging Minolta’s ecosystem for enhanced functionality and professional-grade results. The system ensures effortless integration‚ making it a reliable choice for photographers seeking a comprehensive setup. Its modular design promotes flexibility‚ catering to diverse shooting needs and styles. By supporting a broad array of accessories‚ the X-700 empowers users to tailor their photography experience to achieve exceptional outcomes. This compatibility underscores Minolta’s dedication to creating a cohesive and expandable system for photographers. It ensures that every accessory works harmoniously with the camera‚ delivering consistent and high-quality performance. The X-700’s compatibility with Minolta accessories is a testament to its enduring appeal and practicality in the world of photography. With a wide range of compatible tools‚ photographers can explore new creative avenues and capture images with precision and ease. This seamless integration is a key feature of the Minolta Program System‚ designed to meet the evolving needs of photographers. Whether in the studio or on location‚ the X-700’s compatibility with Minolta accessories ensures a professional-grade experience. It is a camera built to grow with its user‚ offering endless possibilities for creative expression. The Minolta X-700’s compatibility with other Minolta accessories is a cornerstone of its design‚ providing photographers with a robust and adaptable system. This ensures that every accessory enhances the camera’s capabilities‚ delivering outstanding results in various photographic scenarios. The X-700’s compatibility is a reflection of Minolta’s commitment to innovation and user satisfaction‚ making it a beloved choice among photography enthusiasts and professionals alike. Its ability to integrate with a wide range of accessories ensures that photographers can always find the right tool for their needs‚ making the X-700 a timeless and reliable companion in the pursuit of photographic excellence.
Downloading and Using the Minolta X-700 Manual
The Minolta X-700 manual is readily available online in PDF format‚ offering detailed guidance on camera features‚ modes‚ and troubleshooting. Download from trusted sources for easy access.
9.1 Sources for the Official Minolta X-700 Manual
The official Minolta X-700 manual can be downloaded from trusted sources like ManualsBase‚ Mike Butkus’ camera manual library‚ and other reputable websites. These platforms offer high-quality PDF versions of the manual‚ ensuring easy access to detailed guides on camera features‚ operation modes‚ and troubleshooting. Additionally‚ some sites provide supplementary resources‚ such as repair manuals and user guides‚ to enhance your photography experience with the X-700.
9.2 Navigating the Manual for Specific Information
The Minolta X-700 manual is organized logically‚ making it easy to find specific information. Use the table of contents or index to locate sections on exposure modes‚ flash usage‚ or maintenance. Detailed descriptions of features like Programmed AE‚ aperture priority‚ and manual mode are provided‚ along with troubleshooting tips. The manual also includes diagrams and charts to explain complex functions. By using the PDF’s search function or bookmarks‚ users can quickly access guidance on topics such as metering systems‚ self-timer operations‚ and compatible accessories.
The Minolta X-700 manual empowers photographers to master its features‚ ensuring optimal performance and creative control. With proper care and practice‚ it remains a reliable tool for exceptional photography.
10.1 Final Tips for Getting the Most Out of the X-700
Mastering the Minolta X-700 requires understanding its features and practicing regularly. Familiarize yourself with the manual to explore all modes‚ from Programmed AE to Manual. Experiment with aperture and shutter priority for creative control. Keep the camera clean and store it properly to maintain performance. Use original Minolta accessories for compatibility and reliability. Don’t hesitate to try different lenses and flash units for versatility. Finally‚ take time to experiment and adjust settings to achieve the best results in various lighting conditions.